Remove permissions given to Filestack
Learn how to remove permissions granted to Filestack during file uploads. Safeguard your accounts from unnecessary access with our step-by-step tutorial.
Remove permissions given to Filestack during the upload process
In order to access user files from social media (for example, Facebook or Instagram) and cloud drives (like GoogleDrive or Dropbox), Filestack requires user permission to be granted during the file selection process in the Files Picker.
Filestack does not need user credentials – we use OAuth2 authentication process to obtain an access token that gives limited access to the users’ account. We ask only for the minimum level of permissions needed to let users browse, select, and upload files they need.
Filestack stores access tokens, encrypted, for 7 days (in case user will come back to the application to upload more files), and then they are removed automatically.
If you would like to remove your token earlier and de-authorize Filestack from accessing your account, please follow this tutorial. It will explain steps to de-authorize Filestack application from the most popular Cloud sources available in Filestack File Picker.
Below, you can find detailed instructions on how to remove permissions given to Filestack during the upload process.
Please note that in order to delete the files posted from your cloud ( Facebook, Instagram, etc.) you need to contact the website/application owner that you have used to upload your assets..
In order to remove permission given to Filestack from your Facebook account, please follow the steps below:
1. Click in the top right of Facebook:

2. Select Settings & Privacy, then click Settings:

3. Click Apps and Websites in the left menu.
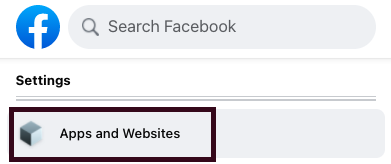
4. Find the application you would like to remove nad click Remove button:

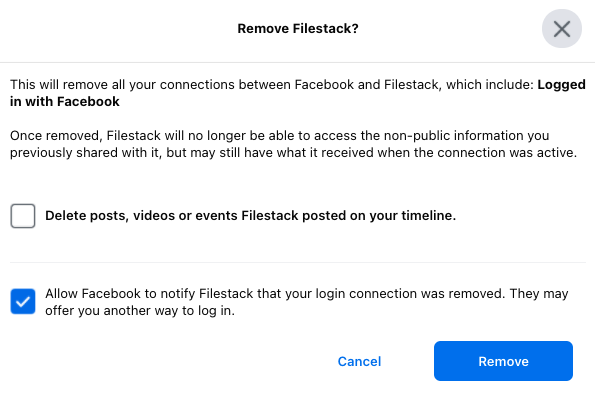
5. Please confirm that you would like to remove the permission by clicking on the Remove button again:
Google Drive/Gmail
In order to remove permission given to Filestack from your Google account, please follow the steps below:
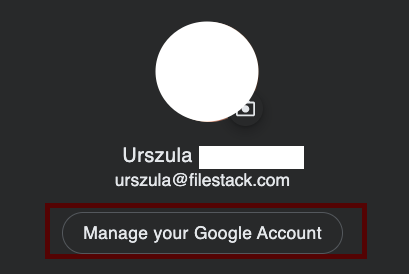
1. Log in to your Google Account and click Manage your Google Account button:
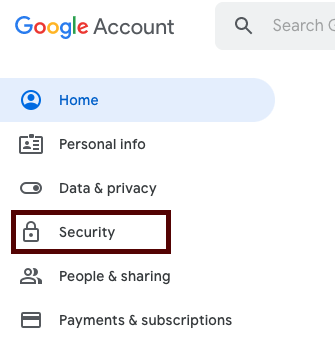
2. Click the Security tab at the left side of the Dashboard:
3. Scroll down to: Third-party apps with account access:
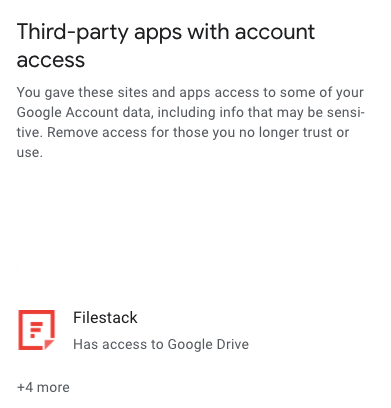
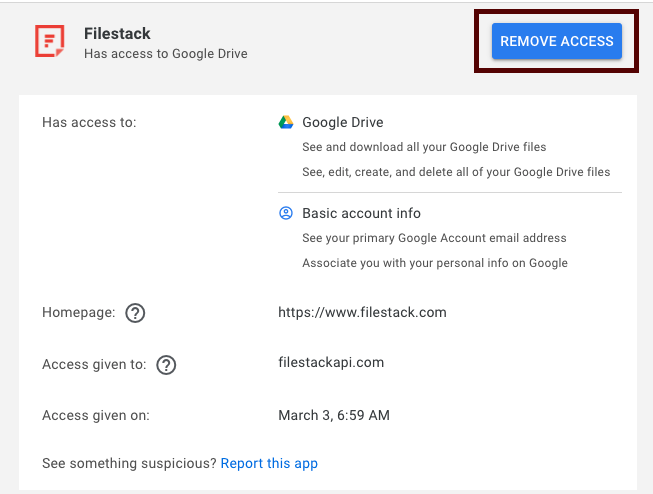
4. Choose Filestack and then click Remove access button:
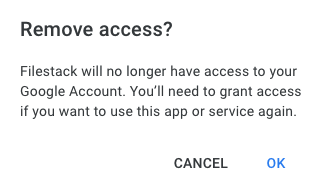
5. Please confirm that you would like to remove the permission by clicking OK:
In order to remove permission given to Filestack from your Instagram account, please follow the steps below:
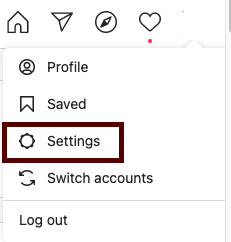
1. Log in to your Instagram account and click “Settings” gear next to the Profile and Saved buttons. :
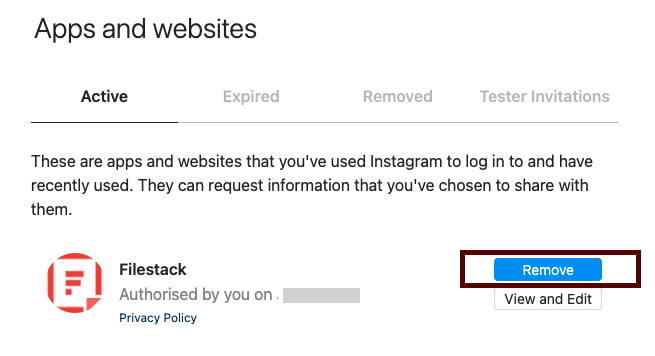
2. Go to the “Apps and Websites” Tab on the left side of the page to show the list of the apps and websites you’ve used Instagram to log into. Choose the app/website you would like to remove and click on the “Remove” button:
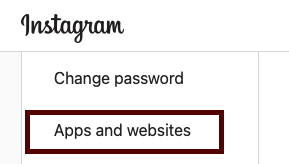
3. Choose Filestack app from the list and click Remove button:
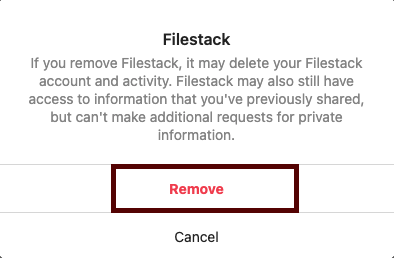
3. Please confirm that you would like to remove the permission by clicking on the “Remove” button again:
If you have any questions, please contact our friendly Support support@filestack.com