

Uploading files, images, and videos using PHP is as easy as adding a couple of scripts. This guide will show you two different ways on how to add php file upload functionality to your site:
- The Simple PHP Way – This is the simplest way of adding a PHP uploader to your service. The upside is that you have complete control of the files being uploaded.
- Filestack’s PHP File Upload Service – This is an easier way of adding PHP upload functionality. The upside is that you do not have to manage the complex file upload infrastructure behind-the-scenes.
Let’s get started with some easy examples:
PHP File Upload – The Simple Way
To start, we’ll create the following:
1. The HTML Form
First, we’ll create an HTML form that the user will see when they want to upload the file. Create a new folder for this example project, and within it, create an index.html file with the following code:
<!DOCTYPE html>
<html lang="en">
<head>
    <meta charset="UTF-8">
    <title>PHP File Upload</title>
</head>
<body>
    <form action="fileUploadScript.php" method="post" enctype="multipart/form-data">
        Upload a File:
        <input type="file" name="the_file" id="fileToUpload">
        <input type="submit" name="submit" value="Start Upload">
    </form>
</body>
</html>
A couple important things to notice in the example above:
action="fileUploadScript.php"– This references the PHP script that will handle the file upload on the backendmethod="post"– This tells the browser action the form will use when sending the file to the server (for uploads, this is almost always a POST action, sometimes a PUT)enctype="multipart/form-data"– This determines the content-type that the form submits
Next, open your terminal and from the directory where you created the file, start the PHP server:


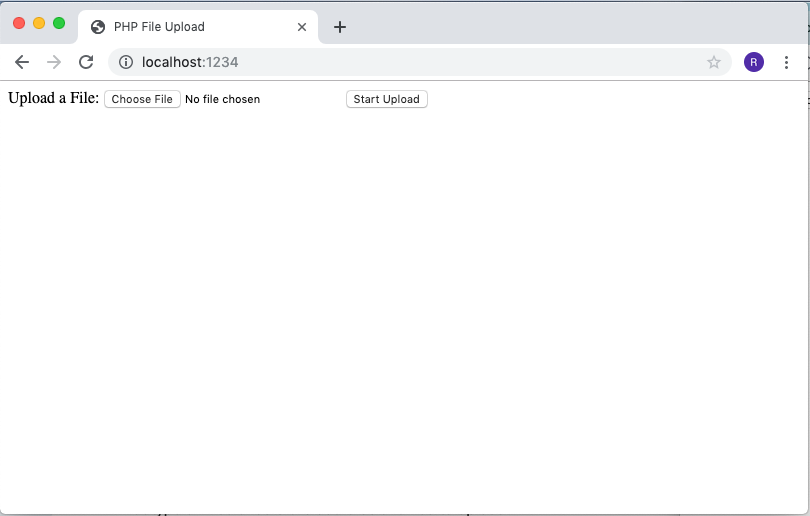
Then, open your web browser and go to localhost:1234. You should see something like this:

2. The PHP File Upload Script
Next, we’ll handle the backend of the file upload. First, in the same directory, create a new directory called uploads. This will be where our script will save the files.
Then, in the same directory as index.html, create a file called fileUploadScript.php. Notice that this is the same name as the action attribute in the form. Then add this code:
<?php
    $currentDirectory = getcwd();
    $uploadDirectory = "/uploads/";

    $errors = []; // Store errors here

    $fileExtensionsAllowed = ['jpeg','jpg','png']; // These will be the only file extensions allowed

    $fileName = $_FILES['the_file']['name'];
    $fileSize = $_FILES['the_file']['size'];
    $fileTmpName  = $_FILES['the_file']['tmp_name'];
    $fileType = $_FILES['the_file']['type'];
    $fileExtension = strtolower(end(explode('.',$fileName)));

    $uploadPath = $currentDirectory . $uploadDirectory . basename($fileName);

    if (isset($_POST['submit'])) {

      if (! in_array($fileExtension,$fileExtensionsAllowed)) {
        $errors[] = "This file extension is not allowed. Please upload a JPEG or PNG file";
      }

      if ($fileSize > 4000000) {
        $errors[] = "File exceeds maximum size (4MB)";
      }

      if (empty($errors)) {
        $didUpload = move_uploaded_file($fileTmpName, $uploadPath);

        if ($didUpload) {
          echo "The file " . basename($fileName) . " has been uploaded";
        } else {
          echo "An error occurred. Please contact the administrator.";
        }
      } else {
        foreach ($errors as $error) {
          echo $error . "These are the errors" . "\n";
        }
      }

    }
?>
A couple things to note:
- The key used to access the file from the
$_FILESobject matches the name attribute used in the form $fileName = $<em>FILES['the</em>file']['name'];– This is the name of the actual file$fileSize = $<em>FILES['the</em>file']['size'];– This is the size of the file in bytes$fileTmpName = $<em>FILES['the</em>file']['tmp_name'];– This is the a temporary file that resides in thetmpdirectory of the server$fileExtension = strtolower(end(explode('.', $fileName)));– This gets the file extension from the file name$uploadPath = $currentDir . $uploadDirectory . basename($fileName);– This is where the files will be stored on the server. In the script above, it is set to the current working directory
Also note that in the code above, we validate the file upload by checking both the file type and size. (Only png and jpeg files that are less than 4MB)
Now there are a couple final steps before we can start uploading files:
- Go to your
uploads/directory and make it writable by running:chmod 0755 uploads/ - Make sure your
php.inifile is correctly configured to handle file uploads (Tip: to find your php.ini file, runphp --ini):
max_file_uploads = 20
upload_max_filesize = 2M
post_max_size = 8M
Finally, if you now start the PHP server and go to localhost:1234, then upload a file, you should see it save in the uploads folder!
Keep in mind that the all of the code above requires additional security precautions before being released in production. For example, there are currently no checks to see if the user has uploaded a virus disguised as an image. To learn more, check out this article which describes various ways to handle secure file uploads.
File Upload with Filestack
In this second example, we’ll use Filestack to upload a file. Filestack is an advanced file upload API and service that securely stores files in the cloud.
Why use a third party like Filestack over building it yourself? By using a third party you no longer need to deal with the scaling, security, and maintenance that comes with building your own file upload system. This can free you up to focus on building other important parts of your application.
And you can get started for free. Filestack has a free plan that handles up to 100 monthly uploads with 1GB storage and 1GB bandwidth. If you need to go beyond that amount, they offer pricing that scales with use.
So let’s get started:
1. Sign up for a Filestack Account
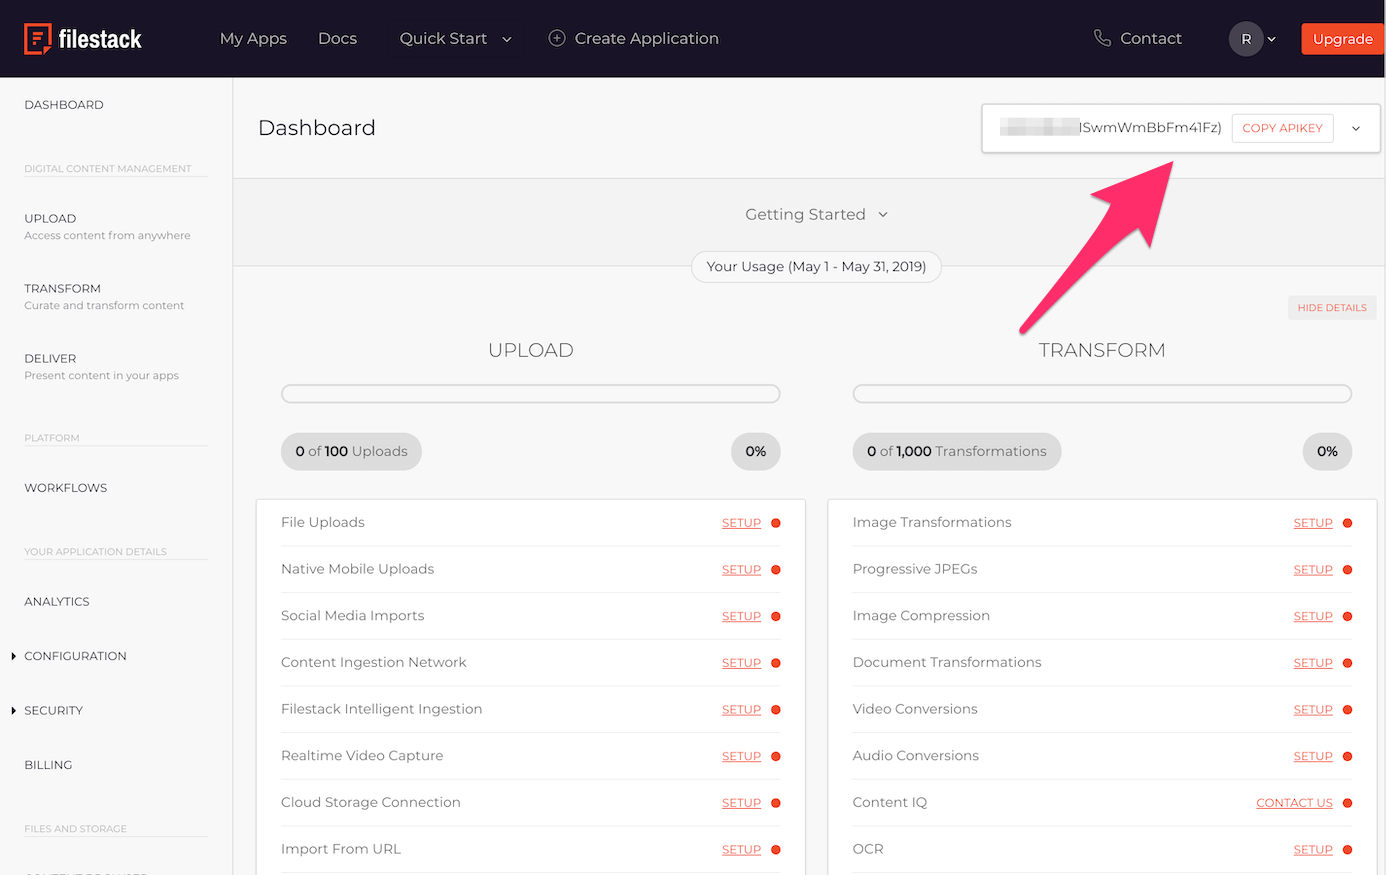

First, we’ll sign up for a Filestack account. Go to their registration page and after you log in, get the API Key, which you will use in the later steps.
2. Start Uploading
Now that we have the Filestack library, let’s integrate their JavaScript file uploader widget, which allows your users to connect to a variety of other sources from which to upload from. For example, if they wanted to upload from a URL or from social media. Simply replace the contents of index.html with the following:
<!DOCTYPE html>
<html lang="en">
<head>
    <meta charset="UTF-8">
    <title>PHP File Upload</title>
</head>
<body>
    <style>
      .picker-content{
        height:300px;
        width:200px;
      }
    </style>
    <script src="//static.filestackapi.com/filestack-js/2.x.x/filestack.min.js"></script>
    <script type="text/javascript">
      document.addEventListener("DOMContentLoaded", function(event) {
        const client = filestack.init(YOUR_API_KEY);

        let options = {
          "displayMode": "inline",
          "container": ".picker-content",
          "accept": [
            "image/jpeg",
            "image/jpg",
            "image/png"
          ],
          "fromSources": [
            "local_file_system"
          ],
          "uploadInBackground": false,
          "onUploadDone": (res) => console.log(res),
        };

        picker = client.picker(options);
        picker.open();
      });
    </script>
    <div class="picker-content"></div>
</body>
</html>
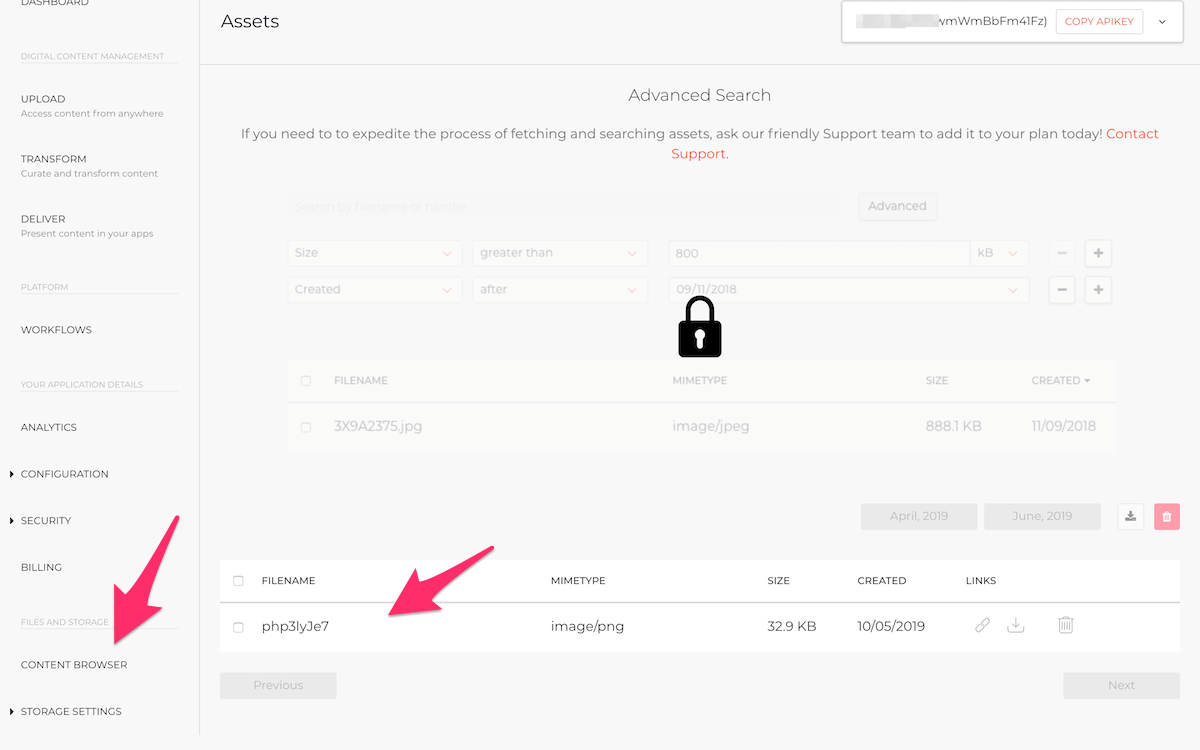
Then, open your page and then upload a file using the upload widget. After uploading, you should be able to log into your Filestack dashboard and see your newly uploaded file:

And that’s it! You don’t even need the server to handle the file, which is better for scalability, security, and maintenance.
Filestack PHP Library (optional)
The above example covers the simplest example of uploading a file with Filestack. But, what if you wanted to access the file on your server to run some kind of post-processing, like checking if an image is safe for work? To do that, you can use the Filestack PHP library. We’ll use Composer to install the Filestack PHP library. If you don’t have Composer already, you can install it by going to the folder you created originally and running (see this for official documentation):
php -r "copy('https://getcomposer.org/installer', 'composer-setup.php');"
php -r "if (hash_file('sha384', 'composer-setup.php') === '48e3236262b34d30969dca3c37281b3b4bbe3221bda826ac6a9a62d6444cdb0dcd0615698a5cbe587c3f0fe57a54d8f5') { echo 'Installer verified'; } else { echo 'Installer corrupt'; unlink('composer-setup.php'); } echo PHP_EOL;"
php composer-setup.php
php -r "unlink('composer-setup.php');"
After you do the above, you should be able to see Composer’s output by running php composer.phar.
Then run require --prefer-dist filestack/filestack-php to install the Filestack SDK.
Now that we have the Filestack library, let’s make a new PHP script to check if a specific uploaded file is safe for work. Create a new file called fileUploadFilestack.php and add the following (making sure to change the YOUR_API_KEY, YOUR_SECURITY_SECRET, and YOUR_FILE_HANDLE variables):
<?php
  require __DIR__ . '/vendor/autoload.php';
  use Filestack\FilestackClient;
  $client = new FilestackClient(YOUR_API_KEY);
  $security = new FilestackSecurity(YOUR_SECURITY_SECRET);

  $file_handle = YOUR_FILE_HANDLE;

  # get tags with client
  $result_json = $client->getTags($file_handle);

  # get tags with filelink
  $filelink = new Filelink($file_handle, YOUR_API_KEY, $security);

  $json_result = $filelink->getTags();

  # get safe for work flag with filelink
  $json_result = $filelink->getSafeForWork();
?>
When this script is run, the result of the safe-for-work check will be saved in the $json_result variable. And that’s just one example. Using the Filestack PHP SDK allows you to perform a variety of tasks on your uploaded files. Check out these other examples:
- Transform a file before upload
- Test if a file upload is “safe for work”
- Transcode uploaded video or audio
- Convert a file upload to pdf
- And more…
In addition, if you want to see more examples of how the file upload picker can be integrated into a form check out these links:
Summary
Now that you know how implement PHP file uploads two ways, you can easily add this feature to your website or application. If dealing with the scalability, security, and maintenance challenges of hosting your own file upload infrastructure seems too daunting, let Filestack handle it. Also be sure to check out our article on AJAX File Uploads as well!